How to Convert and Upload Any FLV Video Files to YouTube
“I just uploaded a video file with .flv extension, but I got the warning message said invalid file format, how to upload FLV to YouTube?” FLV is not only a file extension, but also a video container. It means that a FLV video file can store various video and audio codec and some of them are not supported by YouTube. This article will tell you everything you need to know about how to upload FLV to YouTube smoothly.

Part 1: What Video and Audio Codecs YouTube Supports
According to Google, YouTube prefers the broadcast format as well as DVD-compliant MPEG-2 streams with .mpg extension. The codecs supported by YouTube include:
- MPEG-2
- Audio codec: MPEG Layer II or Dolby AC-3
- Audio bitrate: 128 kbps or better
- MPEG-4
- Video codec: H.264
- Audio codec: AAC
- Audio bitrate: 128 kbps or better
Moreover, YouTube only supports WAV container with MP3 or PCM audio, MOV with AAC audio and FLAC audio. YouTube supports WMV, AVI, MOV, MP4 and FLV with the right codecs.
When it comes to FLV, YouTube access videos encoded with Adobe-FLV1 video codec along with MP3 and AAC audio. If your FLV video contains uncompressed audio or ADPCM audio, YouTube won't accept it.
Besides, there are more rules for uploading FLV to YouTube:
- Recommend frame rate: 24 to 60
- Recommend resolution: 1080p
- Minimum duration: 33 seconds
Part 2: Easiest Ways to Convert FLV to YouTube
Way 1: Convert FLV to YouTube on Desktop
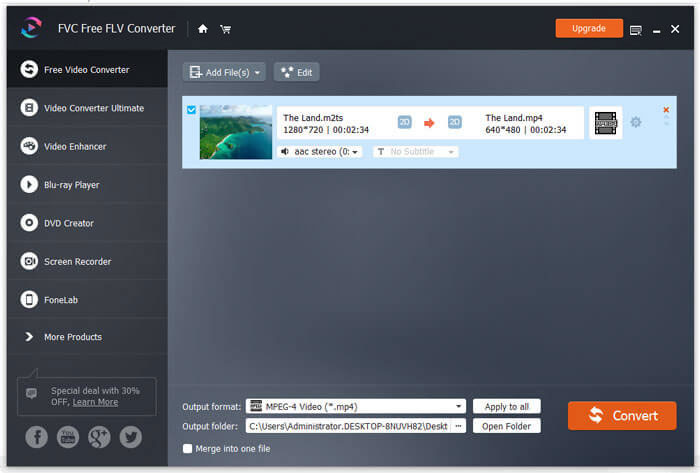
If you encounter the error when uploading FLV to YouTube, the first thing is to look for a FLV converter, such as FVC Free FLV Converter. It enables you to adjust video and audio codecs as well as other parameters. So that you can match your FLV files to YouTube rules. Moreover, it utilizes hardware acceleration and multi-thread to improve the performance.
Key Features of the Best FLV Converter for YouTube
- 1. Adjust video and audio codecs of FLV easily.
- 2. Batch process unlimited FLV videos at one time.
- 3. Protect video quality automatically while converting.
Free DownloadFor Windows 7 or laterSecure Download
Free DownloadFor MacOS 10.7 or laterSecure Download
How to Convert FLV for YouTube on Desktop
Step 1: Add FLV files
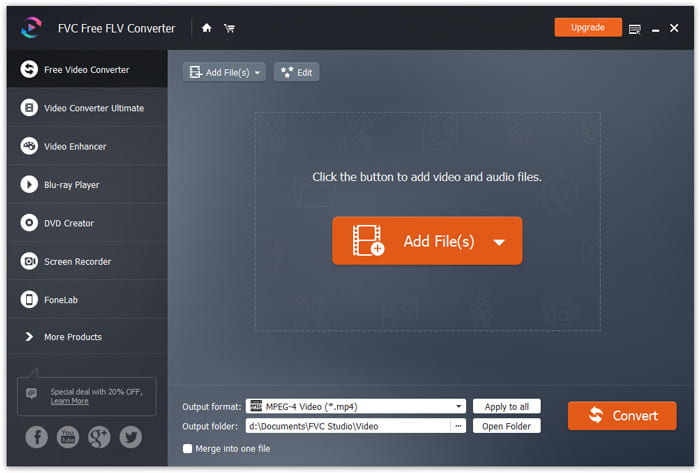
Launch the best FLV converter once you install it on your computer. Click the Add File(s) menu at the upper left side and add the FLV files that you want to upload to YouTube.
Step 2: Change codecs
Click the dropdown menu next to Output format at the bottom to open the profile dialog. Input FLV in Search Profile box and press Enter key on your keyboard. Then select the FLV format with proper video and audio codecs.
If your FLV video is too long, you'd better split it into clips and then upload to YouTube. You can click the Edit menu to open the video editor window.

Step 3: Convert FLV for YouTube
Next, move to the bottom and click the Open Folder button. Select a specific folder to save the output videos. Finally, click on the Convert button to begin converting FLV for YouTube immediately.
Way 2: Convert FLV to YouTube Online
If you do not like to install video converter software on your hard disk, FVC Free Online Video Converter is a good alternative solution. It is free of charge without any limit, such as watermark. Moreover, it does not have restrictions on file size. Here are the steps below:
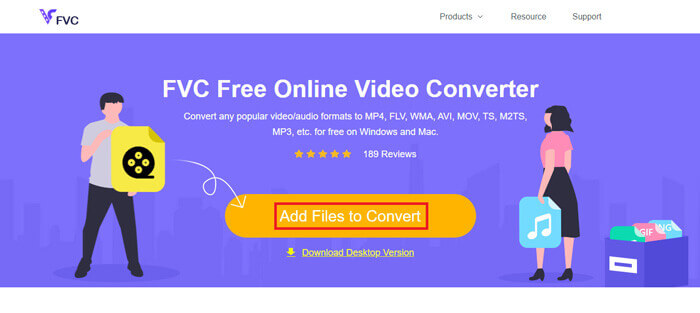
Step 1: Visit https://www.free-videoconverter.net/free-online-video-converter/ in a browser and click Add Files to Convert button to get the launcher.
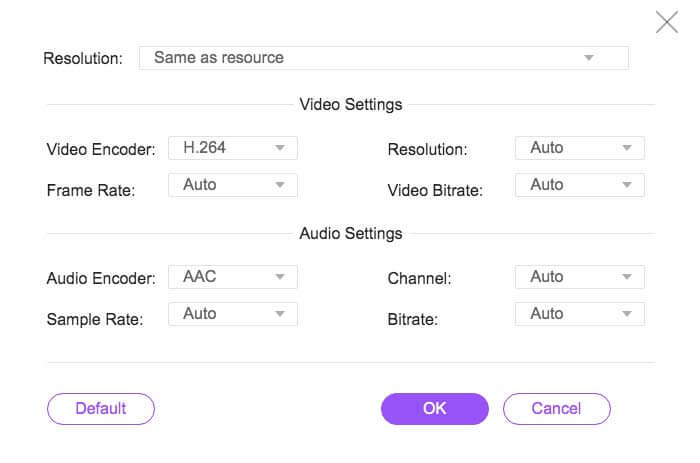
Step 2: Click the Add File button to upload several FLV files. Then press the Gear icon to open the profile dialog. Here you can adjust the Video Encoder and Audio Encoder. Hit OK to confirm it.
Step 3: Choose a YouTube supported format at the bottom and click the Convert button to initiate converting FLV for YouTube. When it is done, download the output files.
Don't Miss:
Part 3: How to Upload FLV to YouTube
After converting, you can upload your FLV files to YouTube on your computer now. We share the steps here, so that you won't get lost.
Step 1: Go to YouTube homepage, sign in your account.
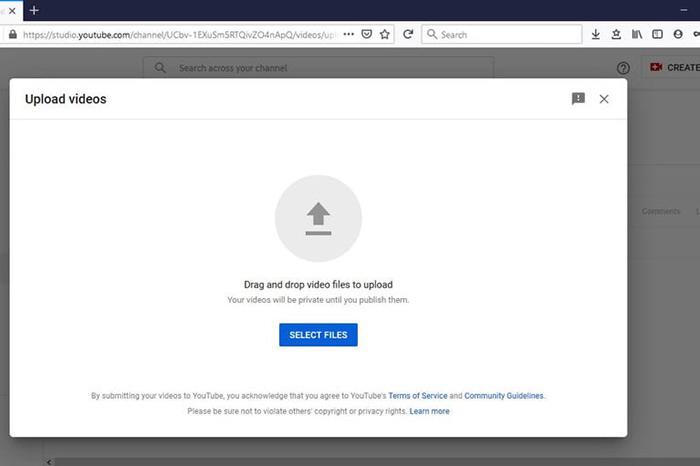
Step 2: Click the Camcorder icon and select Upload video to enter the upload page.
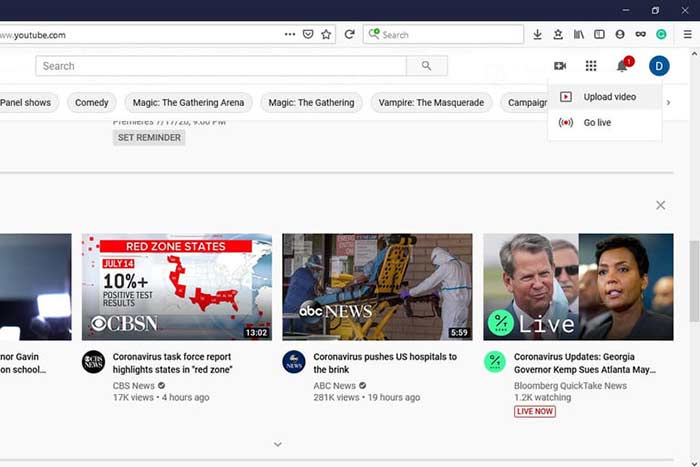
Step 3: Hit the big Select Files button on the page, and then open the converted FLV files for YouTube. Or drag and drop the FLV files into the page to upload them.
Step 4: Then decide the privacy setting. By default, it is Public, but you can change it to Private, Schedule or Unlisted.
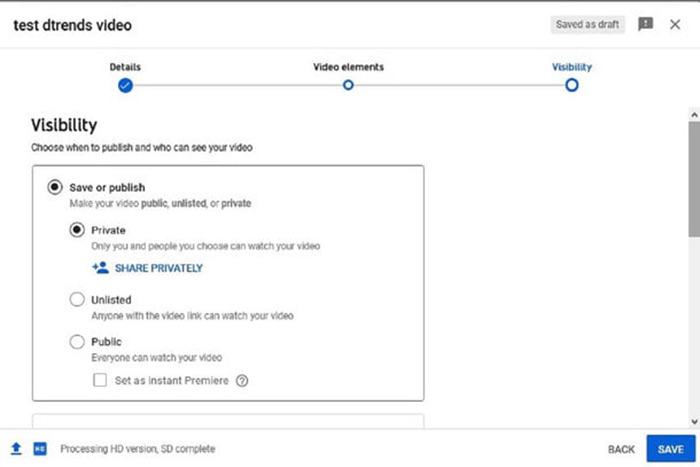
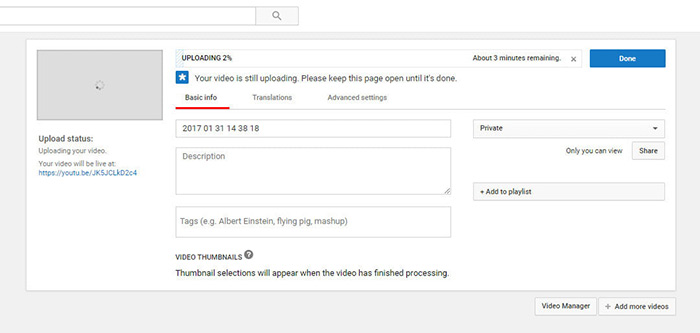
Step 5: Click the Save or Publish button after setting. Then you will be taken to the Dashboard page. Here you can see the FLV uploaded to your YouTube account.
Part 4: FAQs about FLV to YouTube
Can You upload FLV to YouTube?
Yes and no. YouTube supports FLV video format, but as a video container, you can only upload FLV files with supported video and audio codecs; otherwise, it will be failure.
Can I download YouTube videos in FLV?
If the YouTube video offers the download button, you can click on it and select the FLV as output format.
Which video format is best for YouTube?
MP4 is the best video format for YouTube. Google does recommend using MP4 with H.256 video codec and AAC audio codec. That is because it produces high quality with smaller file size. In addition, MOV, WMV, AVI, FLV, and 3GPP are also supported on YouTube.
Conclusion
This guide has told you what video formats YouTube accepts and how to upload FLV to YouTube without failure. FVC Free FLV Converter can help you to convert FLV for YouTube and enable you to adjust video and audio codecs easily. It even does not require any technical skills, so beginners can master quickly. If you encounter other problems when uploading video to YouTube, please leave a message below this post.


 Video Converter Ultimate
 Screen Recorder
