


How to Facebook Screenshot : 6 Workable Ways to Do It
As an avid user of social media platforms like Facebook, I know that sharing information has become an integral part of the overall social media experience. As always, when looking for something interesting, you need to be able to share news from your mutual friends, and the best way to do it is by taking a Facebook screenshot. Regardless of the context of the screenshot, doing it is very easy. Through this guide, we will delve into different ways to take a screenshot on Facebook using different devices, varying from mobile to desktop devices. In the process of knowing how to do it, we also included the use of a reliable third-party software tool that can do all screenshot-type regardless of the device you are using. To find more information on the software tool, read this article until the end and take Facebook screenshots like a pro.

Part 1. Methods to Screenshot Facebook on Different Devices
Before diving into the methods of screenshotting Facebook posts, you need first to decide or know what device you are going to use. For this one, we decided to separate each device and have their step-by-step guide starting from Windows, Mac, iPad/iPhone, Samsung Galaxy, and Android. Different devices might have slight differences in terms of taking a screenshot, what more for using it on a social media platform like Facebook.
Windows
For Windows, there are multiple ways to take a screenshot on Facebook, whether a user is using Windows 7 or later. Following our steps below ensures you effectively take a screen capture using the simplest method. Moreover, the steps below use the Snipping Tool feature of Windows to take a Facebook screenshot.
Step 1. From your Windows Start Menu, search and open the Snipping Tool software.

Snipping Tool software is already pre-installed in your Windows.
Step 2. Once the Snipping Tool software is open, proceed to click on the Mode drop-down button to access the snipping features. For this case, you can select the Rectangular Snip.
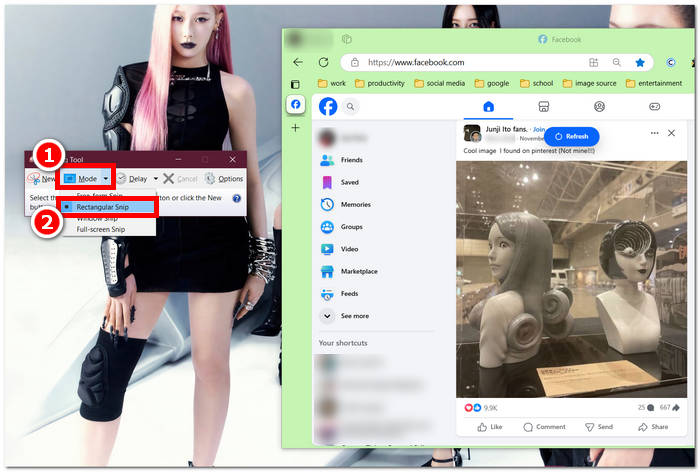
If you want a custom-shaped region in your snapshot, select Free-form Snip. If you want a rectangular screenshot area, select Rectangular Snip. If you wish to capture a screenshot of a particular window or tab, select Window Snip. To capture a snapshot of your whole Windows screen, select Full-screen Snip.
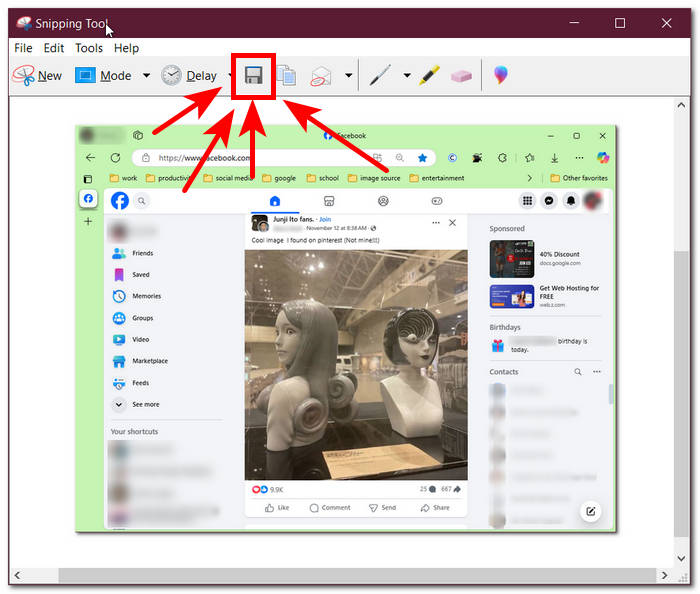
Step 3. Once you click on the Rectangular Snip, you can select the area on your Facebook web that you want to include in your screenshot. Once you've done this, a Snipping Tool window will appear containing your selected screenshot. Within that, you can customize your screenshot by adding text, highlights, annotating words, and more.
Step 4. To finish the process, click the Save button in the upper part of the Snipping Tool window.
Mac
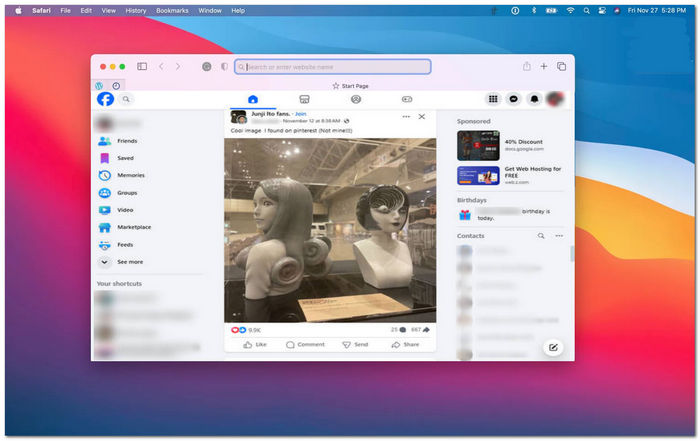
Taking a screenshot of Facebook content might be different for Mac devices than how users do it with Windows. However, for this one, we will only tell users to follow basic shortcut key commands on their Mac keyboard.
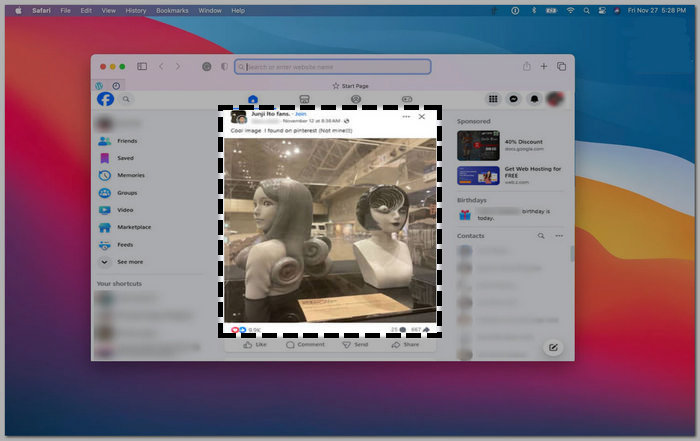
Step 1. Using your Mac devices, open your Safari web browser and proceed to the Facebook website.
Step 2. On your Mac keyboard, to screenshot your Facebook webpage, hold down the following command + shift + 4.
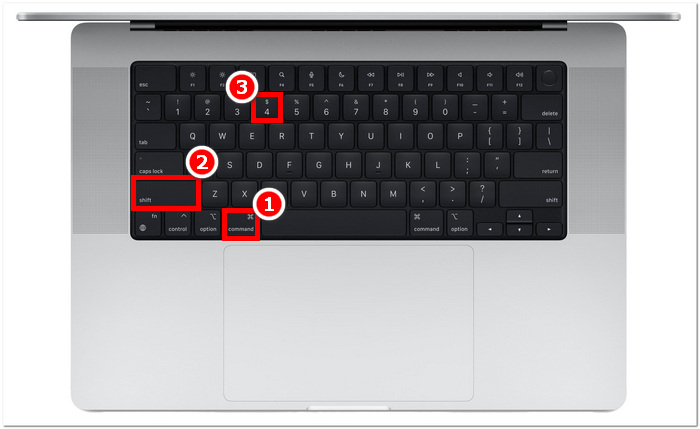
Step 3. Using your cursor, click, hold, and drag onto the area you want to capture.
Step 4. Release the cursor to instantly screenshot the Facebook consent using your Mac’s Safari web browser.
iPad/iPhone
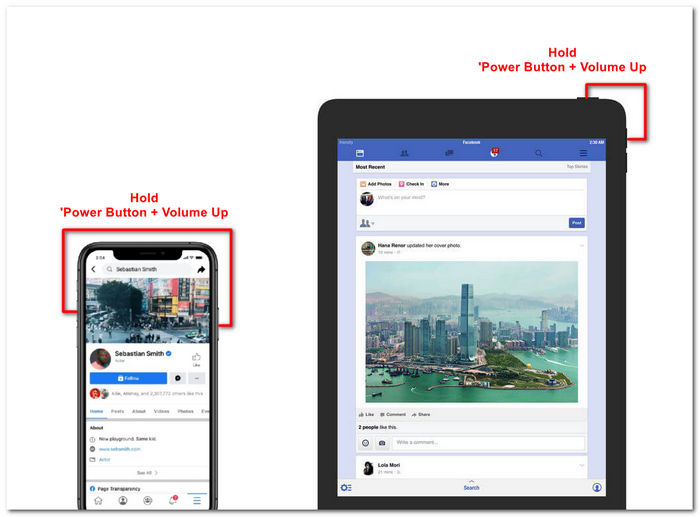
Taking a screenshot is easy on a hand-carry device like an iPad or iPhone, as both devices use only the combined power button and volume up. Whether you are using an iPad or iPhone, you can follow the steps below.
Step 1. Open your iPhone or iPad’s Facebook App and browse through your feed to find a post or perhaps a screenshot of Facebook story content.
Step 2. Once you are all set, take a screenshot of Facebook content; hold your device's Power Button + Volume Up button to capture it and have it saved in your Photos App.
Samsung Galaxy
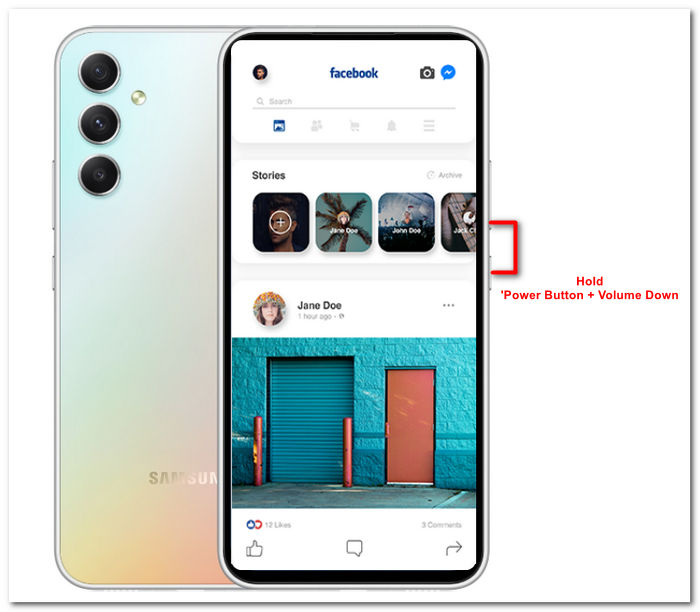
If you are using a Samsung Galaxy device and you don’t know how to take a screenshot within your Facebook app. Then, the steps below will help you.
Step 1. Through your Samsung Galaxy device, open your Facebook App and look for content within the platform you want to save as a screenshot to your device.
Step 2. Once you find the Facebook content you want to capture, hold your Power Button + Volume Down to screenshot it effectively.
It can also help you how to screenshot Samsung-specific models, like S23. You can use it to solve all your screenshot problems.
Android
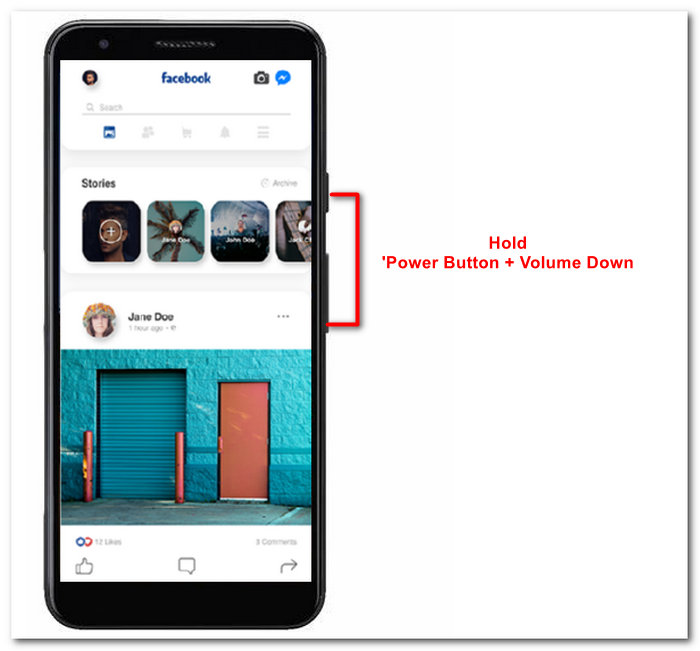
The process of taking a screenshot differs between Android and iOS devices, as Android uses the Volume Down button instead of the Volume Up button. To easily capture a Facebook screen, follow the process below.
Step 1. Open the Facebook mobile app on your Android device and browse your timeline for content you want to save as a screenshot in your Gallery.
Step 2. Once you find one, hold your mobile’s Power Button and Volume Down to screenshot it and save it directly in your Gallery App.
Part 2. A Great Screen Recorder to Capture Everything on Desktop
If you are looking for a more convenient way to take screenshots on your Facebook with a feature that allows you to instantly make edits, annotate, highlight, crop, and more in the screenshot, then you might like using the FVC-picked screen recorder. This free-to-use screen record tool can double function as a tool to record your screen in real time and take a snapshot for easy and quick sharing of content. Moreover, this comprises four screenshot settings to cater to all types of screen capture needs, no matter whether you want to screenshot on Mac or Dell. and using it in the likes of Facebook is beneficial. To learn more about these screenshot features offered by FVC-picked screen record, it is best to show you how to do it.
Step 1. On your desktop, download and install the FVC-picked screen recorder software, then start the application.
Free DownloadFor Windows 7 or laterSecure Download
Free DownloadFor MacOS 10.7 or laterSecure Download
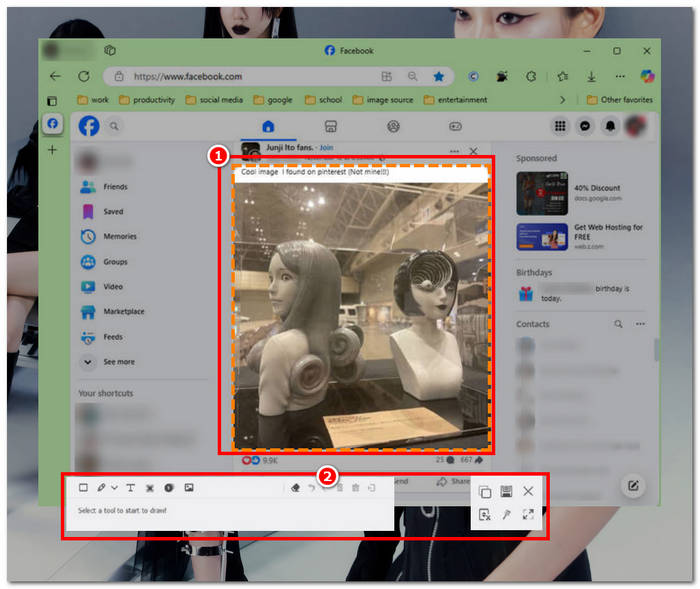
Step 2. Access your Facebook web using any of your preferred web browsers. In the screen recording tool, click on the Snapshot drop-down menu, then select a screenshot type to capture your Facebook screen.

You may save a screenshot of the entire homepage using Screen Capture. The Scrolling Window function takes a snapshot of the entire homepage, from top to bottom. Users may choose a section of the webpage while taking a customized screenshot with Popup Menu Capture.
Step 3. In your Facebook timeline, click, hold, and drag your cursor on the area of the Facebook content you wish to capture as a screenshot.
Step 4. Once done, you can utilize the tools below to edit your screenshots before you can download them to your desktop download folder.
Part 3. FAQs about Screenshot on Facebook
Can people see if I screenshot their profile, post, or photo?
No, other users will not be notified if you happen to take a screenshot of their Facebook profile. Only you can see it unless you share the screenshot with them.
Are Messenger screenshots detectable?
No, as it poses a security and data breach concern, Facebook does not notify the other user that you just took a screenshot of your conversation.
Is it legal to screenshot Facebook content?
Screenshots of Facebook content are not illegal, as public postings are public and viewable by everyone. However, it is illegal to use someone's content or post for your gain without their permission.
Conclusion
Taking screenshots of Facebook content is a great way to store and quickly share it with another user. While it is greatly helpful, learning how to do it, especially using other devices, from desktop to mobile, is also helpful. Through this guide, you learn different approaches to taking a Facebook screenshot using any available device you may have. While it is very convenient, the ability to edit and highlight instantly the screenshot using the FVC-picked screen recorder is the best way to take when you want to crop or highlight a certain part of the screenshot so that you won’t have to edit them later.
-
 How to Take Screenshot on Alcatel to Seize the Moment
 Struggling to take screenshots on your Alcatel device? Try this mobile phone and desktop software solution and get your screen saved for offline viewing.
-
 How to Screenshots in Minecraft: Easiest Game Screen Capture
 Learn the easiest way to take screenshots in Minecraft. Try the built-in tools and screen recorder software to save your Minecraft creation.
-
 How to Take Screenshots on a Chromebook [Step-by-Step Guide]
 Discover how to easily capture screenshots on your Chromebook with this comprehensive step-by-step guide. Be guided and get that perfect screenshot now!