


How to Easily Shrink PNG Files for Free? [Guide]
In today’s digital age, PNG is one of the most commonly used image formats because of its lossless compression and high-quality graphics. However, these things are also the reasons why this file format takes up a large size, which slows down the uploading and sending of these files.
But don’t fret! In this article, you'll learn five methods to compress PNG files, explore the pros and cons of each technique, and gain insights into compressing them. What are you waiting for? Let’s get started.

Part 1. Easiest Way to Compress PNG Online for Free [Best for Beginners]
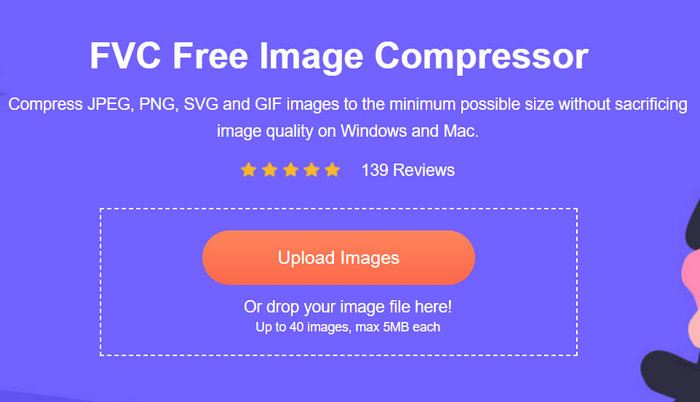
One of the best ways to compress PNG files online, especially for beginners, is through the FVC Free Image Compressor. This online image compression tool can easily be accessed by Mac and Windows users, allowing them to compress their files with a single click. Also, its advanced optimization and compression algorithms ensure that the image quality of the PNG files is maintained after the compression.
Here’s how to compress PNG files using FVC Free Image Compressor
Step 1. First, you need to visit their official website.
Step 2. After that, click Upload Images to import the PNG files that you want to compress.
Step 3. After compressing your PNG files, you can preview them by reviewing their new size after the compression. Lastly, click Download All to save your image.

The user-friendliness of the FVC Free Image Compressor makes it best for beginners, especially because they only need one step to compress their PNG files. Moreover, it is free and accessible, and the compressed quality outputs are top-notch.
Pros
- 100% free.
- Can handle images up to 5MB in size.
- Automatically compresses photos.
- Utilizes the best optimization and compression algorithms.
- It can compress up to 40 images.
- Extensive support for popular image formats, including JPEG, PNG, SVG, and GIFs.
Cons
- No customization option.
Part 2. Reduce PNG File Size on Mac
Mac users can compress PNG files using the Preview app. This tool comes pre-installed on all Mac computers and offers basic editing features, including image resizing. When it comes to compressing PNG files, this tool provides a straightforward and efficient method. Users can adjust the image quality through the export function, which helps in reducing the file size while maintaining acceptable image quality.
Here’s how to compress PNG files using Preview for Mac users
Step 1. First, open the Preview app on your Mac device.
Step 2. After that, open the PNG file that you want to compress by going to the File tab and clicking the Open button.
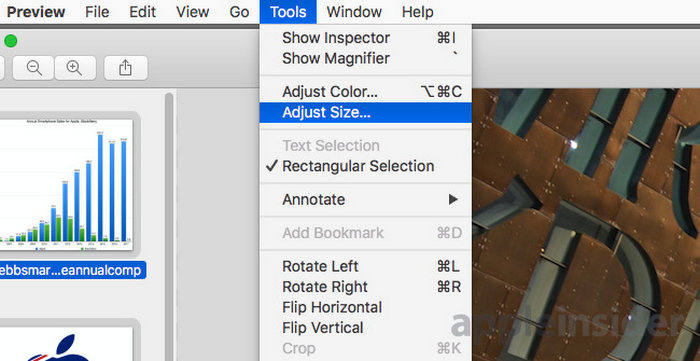
Step 3. Now, go to the Tool tab in the context menu and then click Adjust Size.
Step 4. After that, to compress your PNG file, select the Resample Image by checking the check box beside it.
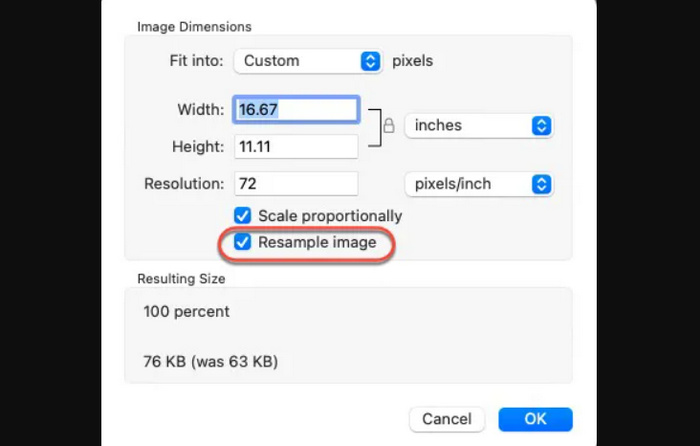
Step 5. Now, change the value of your Resolution file. Once you have done so, a new size will be shown at the bottom.
Note: If you wish to compress a bunch of PNG files simultaneously, click on the thumbnails in the sidebar and then press Command + A on your keyboard before proceeding to step 3. This will select all the images, allowing Preview to apply the size adjustment to all of them at once.
Pros
- Free.
- Simple and intuitive interface.
- Allows for quick adjustments to image quality.
Cons
- Less control over advanced compression settings.
- Exclusive only for Mac users.
Part 3. Compress PNG on Windows
Windows users can utilize the Photos app to compress PNG images for seamless compression. With this image compression tool, users can easily adjust the quality and resolution of their PNG files, which helps reduce their file sizes. Moreover, users can quickly open an image, make necessary edits, and save a copy with reduced file size.
Here’s how to compress PNG files using Preview for Windows users
Step 1. Right-click on the PNG file that you want to compress, click Open With, and choose the Photos app.
Step 2. After that, click on the three dots on the top-right corner and choose Resize image from the menu.

Step 3. From there, you can compress your PNG file by changing its Pixel size and Percentage.
Step 4. Lastly, click the Save button.
With this tool, Windows users can easily compress their PNG files directly to their devices. However, this particular method lacks some advanced features that can enhance the quality of the compressed files.
Pros
- Free.
- Direct compression within the Photo’s app.
- User-friendly interface.
- Supports a wide range of popular image formats.
Cons
- Obvious quality loss in compressed PNG files.
- No advanced compression features.
Part 4. Compress PNG with Photoshop
Adobe Photoshop is a well-known image editing software used by professionals across the globe due to its extensive range of features and powerful editing capabilities. This tool provides advanced tools for editing images, including image compression, cropping, changing images’ color, etc. It allows users to resize their image, as well as their quality and format settings, to achieve optimal file size without significant loss of quality.
Method 1. Changing the Image Size by Pixels
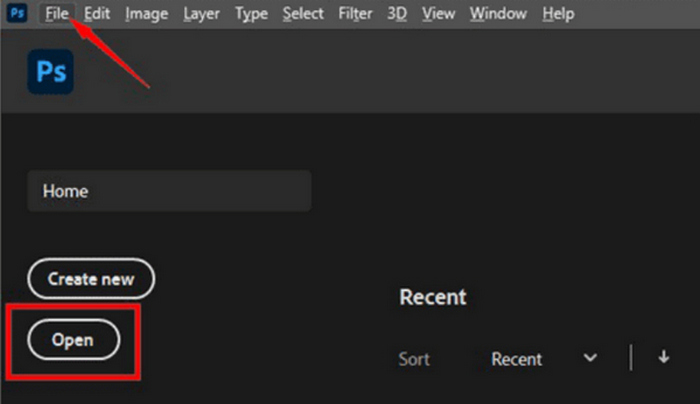
Step 1. Open your image in Photoshop by clicking Open or go to File and select the PNG files that you want to resize.
Step 2. Now, go to the Image tab and select Image Size.
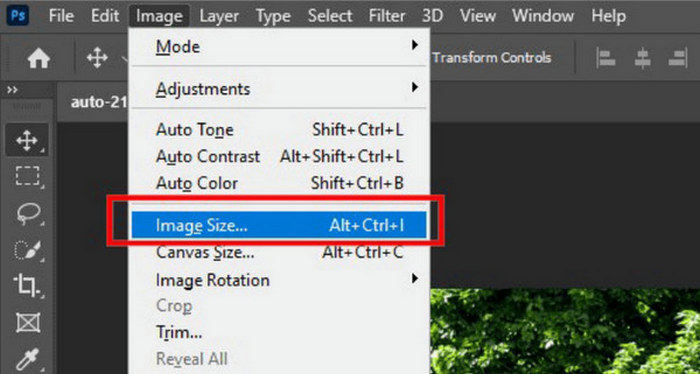
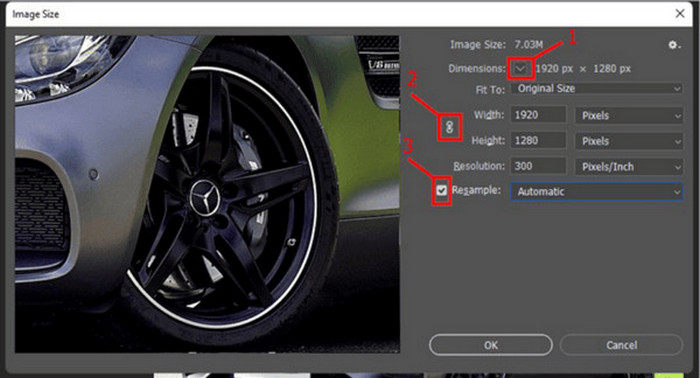
Step 3. In the Image Size dialog box, choose Pixels from the drop-down menu. To set specific dimensions to compress your PNG files, enter values in width and height text boxes and click OK to resize the image.
Step 4. Lastly, save your compressed PNG by clicking the Save As button under the File tab.
Save the PSD file in PNG format before saving it.
Method 2. Changing the Image Size by Inches
Step 1. Open your image in Photoshop by clicking Open or go to File and select the PNG files that you want to compress.
Step 2. Now, go to the Image tab and select Image Size.
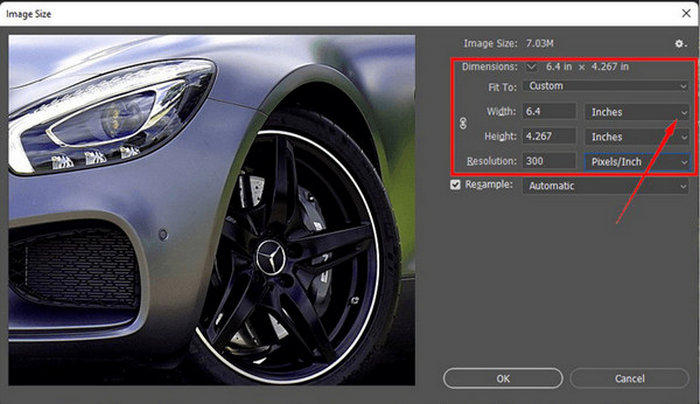
Step 3. In the Image Size dialog box, choose Inches from the drop-down menu. To set specific dimensions in order to compress your PNG files, enter values in width and height text boxes and click OK to resize the image.
Step 4. Lastly, click the Save As button under the File tab to save the final image.
Both of these methods are ideal for web designers, photographers, and digital artists who require precise control over their images. Photoshop’s comprehensive toolset makes it a versatile solution for compressing PNG files.
Pros
- Extensive control over compression and quality settings.
- Supports various image formats.
- Advanced editing tools.
Cons
- Needs a subscription to enjoy its full features.
- Complex interface for beginners.
Part 5. Compress PNG with a Google Extension
The Compress PNG Files in Google Chrome is a tool designed for quick and easy image compression directly within the browser. This extension is perfect for users who want to compress PNG files without needing to download or install additional software.
Here’s how to compress PNG files with a Google Extension
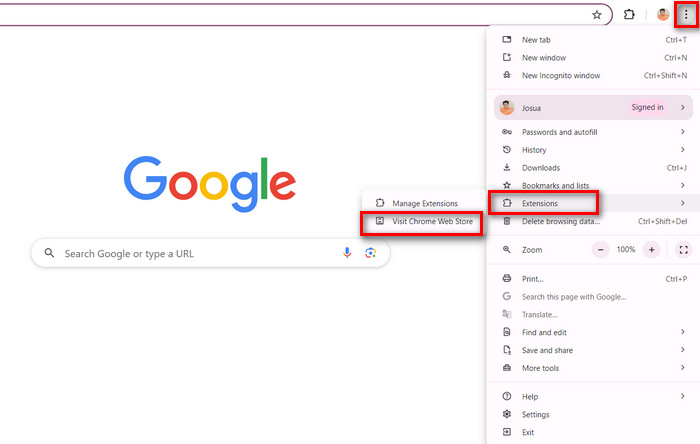
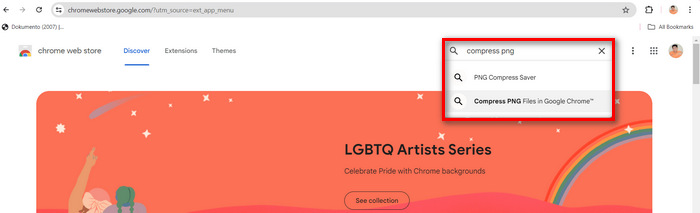
Step 1. In the upper-right corner of your Google Browser, you’ll see three dots. Click on them, select Extensions, and choose Visit Chrome Web Store.
Step 2. Now, search for Compress PNG Files in Google Chrome.
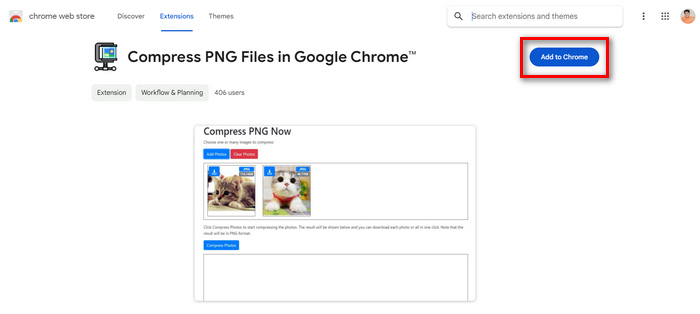
Step 3. After that, click on Add to Chrome.
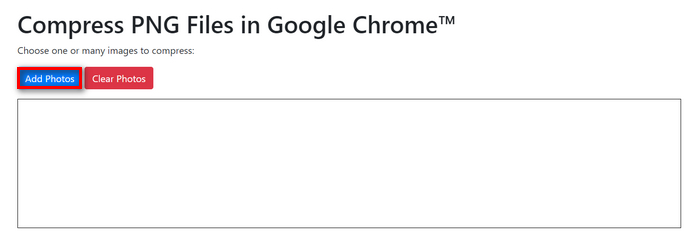
Step 4. Once done, click the Extension button on your Google Chrome and click Add Photos to import the PNG files that you want to compress.
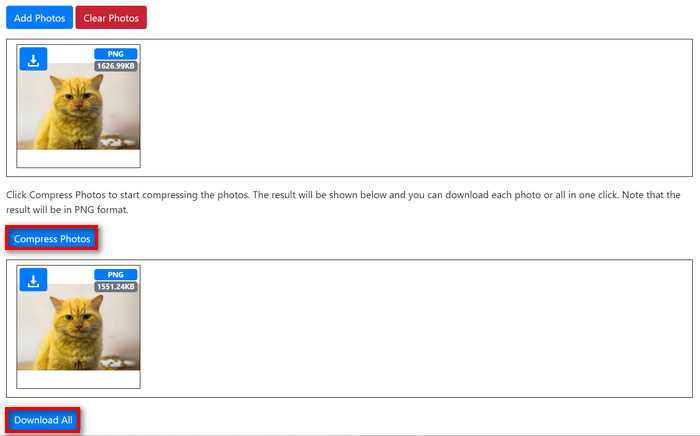
Step 5. Now, click the compress button to start compressing your PNG files, and once you've done so, click the Download All button.
Using a Google Chrome extension speeds up the compression of PNG files. However, this particular extension has a lower compression rate, which couldn’t help resolve the compression needs.
Pros
- Very accessible and easy to use.
- Can batch compress PNG files.
- Free.
Cons
- Lower compression rate.
- No advanced and customization features for compression.
Part 6. FAQs about Compressing PNG Files
How to know PNG size?
It’s so easy to know the size of a PNG file. You can simply right-click on it and select Properties when you’re doing it on your Windows device or Get Info on Mac. With this, you can easily determine the size of your PNG files.
Is PNG a high file size?
PNG files are generally larger compared to other formats like JPEG because they use lossless compression, which preserves image quality and supports transparency. This high file size is due to the detailed, high-resolution images and the inclusion of all pixel data, making them ideal for web design, digital art, and photography, where quality is paramount.
Is JPEG or PNG better?
The choice between JPEG and PNG depends on the specific use case. PNG is better for images that require transparency, such as logos and icons, or when you need high-quality graphics without any loss of detail. JPEG, on the other hand, is more suitable for photographs and images where a smaller file size is important.
Conclusion
In conclusion, the necessity to compress PNG files steams from the need for optimizing website performance, saving storage space, and improving user experience. By following the methods in this article, you can ensure that your images maintain high quality while being compressed.
-
 PicWish Photo Enhancer Review and Alternative Tool to Try
 Discover the magic that PicWish image enhancer brings to the world of photo editing. An in-depth review and exploring viable alternatives for you to try.
-
 How to Remove Text from Image on Windows/Mac/Online
 Say goodbye to distracting text in your images! Explore how to erase text from images with these smooth solutions designed seamlessly for text removal.
-
 Fotor Review For Background Remover and Photo Enhancer
 All you need to know about Fotor Background Remover and Photo Enhancer. Look at some of its features and see the suggested alternative that suits your needs.